Installing a wetroom screen transforms your bathroom into a modern, practical showering space. Whether you're planning a complete bathroom renovation or upgrading your existing setup, this comprehensive guide from Asturias Bathrooms will walk you through every step of the wetroom screen installation process.
Modern wetroom shower screens offer both style and functionality, creating a sleek barrier that prevents water from splashing into the rest of your bathroom. With the right tools, materials, and techniques, you can achieve a professional finish that will serve you well for years to come.
Tools and Materials Needed
Before starting your wetroom screen installation, gather all the necessary tools and materials. Having everything ready will make the process smoother and more efficient.
Essential Tools:
- Spirit level
- Electric drill with masonry bits
- Screwdriver set
- Tape measure
- Pencil for marking
- Hacksaw (if support arms need cutting)
- Silicone sealant applicator
Required Materials:
- Wall brackets and fixings
- Wall plugs suitable for your wall type
- Stainless steel screws
- Clear silicone sealant
- Support arms (if included with your screen)
- Glass protection pads
Quality tools make a significant difference to your installation results. Invest in a reliable spirit level and ensure your drill bits match your wall type - masonry bits for brick walls, wood bits for stud walls.
Step-by-Step Installation Guide
Check the Floor is Level
Start by checking that your wetroom floor or shower tray is completely level using a spirit level. Place the level in multiple directions across the installation area. Any irregularities will affect how your wetroom shower screen sits and may cause water to pool incorrectly.
If you're working with an existing shower tray, verify it's properly installed and level before proceeding. For new installations, ensure your wetroom floor has the correct fall towards the drain - typically 1:80 for proper drainage.
Mark the Wall
Position your wall bracket against the installation wall, aligning it with the edge of your shower area. Use a spirit level to ensure the bracket is perfectly vertical. With a pencil, carefully mark the screw hole positions on the wall.
Double-check these measurements against your shower screen dimensions. The bracket position determines where your glass panel will sit, so accuracy at this stage prevents problems later.
Drill Holes into the Wall and Screw the Bracket In
Using an electric drill with the appropriate bit for your wall type, drill holes at your marked positions. Insert wall plugs into each hole - these provide secure fixing points for your bracket screws.
Align your wall bracket with the drilled holes and secure it using stainless steel screws. Check that the bracket is firmly attached and level before proceeding to the next step.
Fit the Glass Frame
Carefully lift your wetroom screen glass panel into position. Glass panels can be heavy, so having someone assist you during this step is advisable for safety and accuracy.
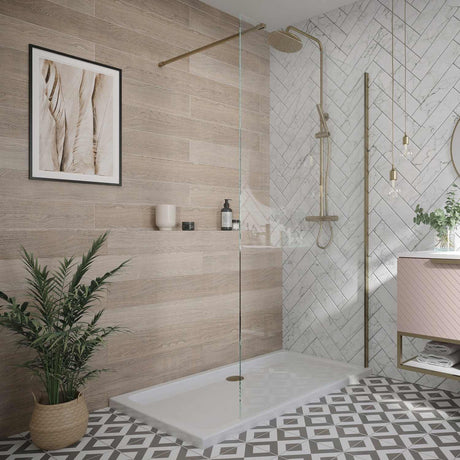
Slide the glass panel into the wall bracket channel. Most quality screens, such as the Scudo S8 Brushed Brass Wetroom Panel, feature adjustable wall channels that accommodate walls that aren't perfectly straight - typically offering up to 20mm of adjustment.
Secure the glass panel according to your screen's specific fitting instructions. Some systems use screws, whilst others rely on compression fittings within the channel system.
Fit the Support Arms
If your wetroom panel includes support arms, these provide additional stability and should be fitted next. Position the support arm over the top of the glass panel, taking care not to scratch the glass surface.
Measure and mark the wall position for the support arm bracket. You may need to cut the support arm to the correct length using a hacksaw - measure twice and cut once to avoid waste.
Install the wall bracket for the support arm using the same drilling and fixing method as before. Attach the support arm to both the glass panel and wall bracket, ensuring any protective padding is correctly positioned between metal components and the glass.
Seal with Silicone
Apply a continuous bead of clear silicone sealant along the base of your wetroom screen where it meets the floor or shower tray. Also, seal the joint between the wall bracket and the wall if required.
Use a sealant applicator for a neat, professional finish. Smooth the sealant with a damp finger or tool to create an even, watertight seal. Allow the adhesive to cure completely before using the shower - typically 24 hours.
Repeat for Additional Wetroom Panels and Side Panels
Many wetroom installations use multiple panels to create the desired showering area. If you're installing additional screens or side panels, repeat the installation process for each panel.
Consider the overall water containment when planning multiple panels. The panels should work together to direct water towards your drain whilst providing adequate access to your shower area.
Tips and Tricks for a Professional Finish
Achieving a professional-looking installation requires attention to detail and proper technique. Here are key tips to ensure excellent results:
Measuring and Planning:
Always measure twice before drilling or cutting. Mark your measurements clearly and double-check alignment before committing to holes in walls or cutting materials.
Wall Preparation:
Ensure your walls are clean, dry, and free from loose paint or wallpaper around the installation area. This provides the best surface for brackets and sealant adhesion.
Glass Handling:
Handle glass panels with care throughout the installation. Use protection pads where metal components contact glass, and clean fingerprints and marks with appropriate glass cleaner.
Alternative Installation Options:
Some wetroom screens can be installed with a shower tray instead of directly onto a wetroom floor. This can simplify installation and provide additional waterproofing. If you're considering this option, check out our guide on How to Install a Shower Tray for comprehensive instructions.
Quality Components:
Invest in high-quality wetroom screens from reputable manufacturers. Premium screens like the Scudo S8 Fluted Black Wetroom Screen offer superior build quality, adjustable fittings, and a comprehensive lifetime guarantee that provides long-term value.
Waterproofing:
Pay particular attention to sealing all joints and connections. Water ingress can cause significant damage, so don't compromise on sealant quality or application technique.
Choosing the Right Shower Tray Alternative
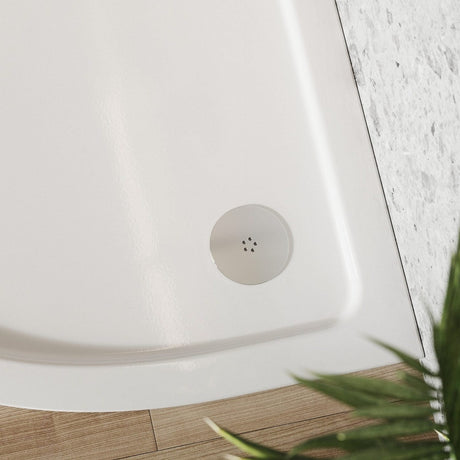
While wetroom screens are designed for tiled wetroom floors, many homeowners prefer the easier installation and additional waterproofing that shower trays provide. Modern shower trays offer excellent drainage and can simplify your bathroom renovation project.
If you're considering this approach, explore our range of shower trays, which are available in various sizes and styles to complement your wetroom screen installation.
Shower trays can be particularly beneficial in upstairs bathrooms where additional waterproofing provides extra peace of mind, or in situations where the existing floor structure makes wetroom floor installation challenging.
Complete Your Wetroom Installation
Installing a wetroom screen requires careful planning, quality materials, and attention to detail, but the results are worth the effort. A properly installed screen provides years of reliable service whilst adding value and style to your bathroom.
Remember that while this guide covers the essential steps, every installation is unique. Take time to read your specific wetroom screen's installation instructions, and don't hesitate to consult professionals if you encounter unexpected challenges.
The combination of modern wetroom screens with quality installation techniques creates bathrooms that are both practical and visually appealing, suitable for any home renovation project.


